Kasm on LXC with GPU Passthrough
Author
Sai Charan Guntupalli
Published
Apr 9, 2026
Read Time
5 min read
How to set up Kasm Workspaces inside a privileged LXC container on Proxmox VE with GPU passthrough for browser-based containerized desktops.
Kasm Workspaces provides browser-based access to on-demand containerized desktops and applications.
This guide details the steps to set up Kasm Workspaces within an LXC container on Proxmox VE, with GPU passthrough enabled for enhanced performance.
Minimum Hardware Requirements
To ensure smooth operation of Kasm Workspaces, ensure your system meets these minimum requirements:
- CPU: 2 cores
- Memory: 4GB
- Storage: 50GB (SSD recommended)
- GPU (NVIDIA or AMD)
Step 1: Creating a Privileged LXC Container
You can create the required LXC container in two ways:
- Using the Proxmox web interface to create a container from a template.
- Using a community-provided helper script for a Debian-based container with Docker pre-installed.
For this guide, we’ll use a community-provided helper script. You can learn more about the script here.
To create the container, run this command in the Proxmox shell and make sure you choose advanced when prompted:
bash -c "$(wget -qLO - https://github.com/community-scripts/ProxmoxVE/raw/main/ct/docker.sh)"⚠️ Important: Always make sure to check the script is from a trusted source before running it.
-
Run the above command in the Proxmox shell.
-
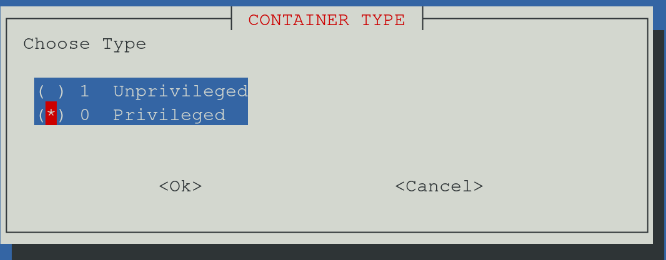
Follow the on-screen instructions, and choose Privileged as the container type when prompted.
Once the container is created:
-
Stop the container.
-
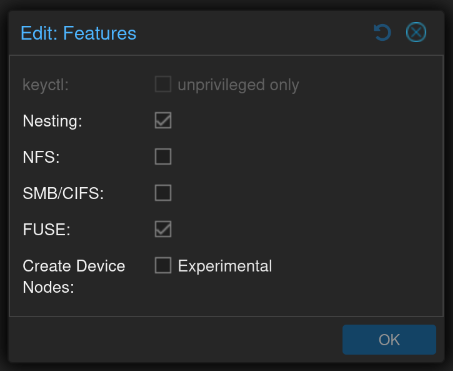
Enable FUSE in the container’s features: navigate to LXC → Options → Features and check the FUSE option.
Step 2: Configuring GPU Passthrough for LXC
You can follow this great guide by gma1n on GitHub for the GPU passthrough setup.
Modify the LXC Configuration File
Before starting your container, two more things need to be added to the LXC config file:
- A TUN device
- A way to render on the GPU
-
Open the LXC container’s configuration file:
nano /etc/pve/lxc/<id>.confReplace
<id>with your container’s ID. -
Add the following to the end of the file:
# TUN device lxc.cgroup2.devices.allow: c 10:200 rwm lxc.mount.entry: /dev/net/tun dev/net/tun none bind,create=file # GPU rendering lxc.mount.entry: /dev/dri dev/dri none bind,optional,create=dir lxc.mount.entry: /dev/dri/renderD128 dev/dri/renderD128 none bind,optional,create=file -
Save the file and exit the editor.
Start the Container
Start the container. It should now have a TUN device and GPU rendering capabilities.
Step 3: Installing Kasm Workspaces
Now let’s install Kasm Workspaces. For more information check the Kasm Docs.
Download and Install Kasm Workspaces
-
Run the following commands inside the container:
cd /tmp curl -O https://kasm-static-content.s3.amazonaws.com/kasm_release_1.16.1.98d6fa.tar.gz tar -xf kasm_release_1.16.1.98d6fa.tar.gz sudo bash kasm_release/install.sh -
The installation process will take a few minutes. Upon completion, you’ll see the login credentials printed in the terminal.
-
Access Kasm Workspaces at
https://<your-container-ip>:443
ℹ️ Note: If you forget the credentials, you can recover them using the Admin Recovery Guide.
Congratulations!
You have successfully set up Kasm Workspaces with GPU passthrough on Proxmox VE. You can now enjoy high-performance containerized desktops and applications via your browser.
For further customization or troubleshooting, refer to the Kasm Documentation.